✨ The Self-Service Logo feature gives you two ways to add a logo to your campaign:
- Create one using our Logo Creator.
- Upload your team's existing logo, and our Design Team will prepare it for your campaign.
Follow the guide below to get started!
‼️Note- scroll down to the bottom for steps on how to change your logo!
Customize Your Gear Shop in 4 Steps
Step 1:
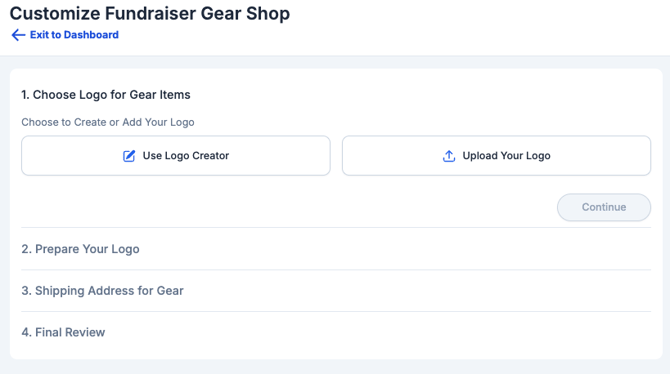
Group Leaders will have the ability to either upload your own Team Logo OR you can use the Logo Creator to put together your own Template logo.
Select the option you would like to use!
Step 2:
Depending on your selection, you will be routed to preparing the logo.
- If you select Upload logo- you will be prompted to upload a file.
- If they select Use Logo Creator- Group Leaders will be able to select their own template design, colors, and enter their own text on the logo.
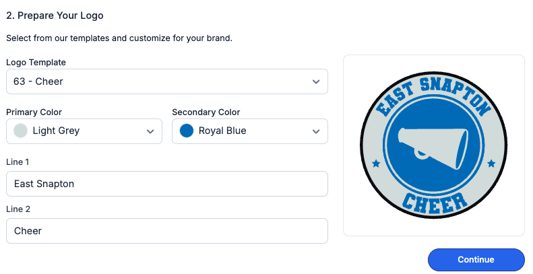
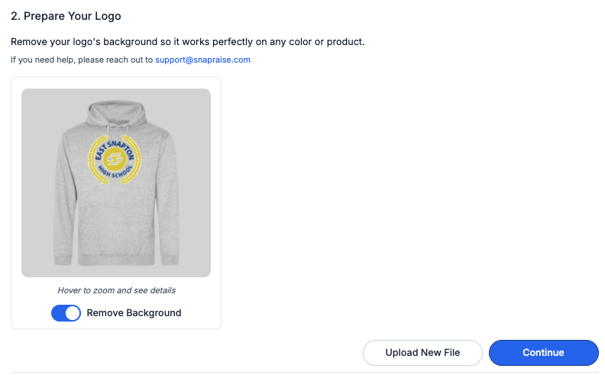
If a Team Logo is selected, Group Leaders can choose to remove the white background from the logo during the preview.
This provides a more accurate representation of how the logo will appear once the campaign is live.
Step 3:
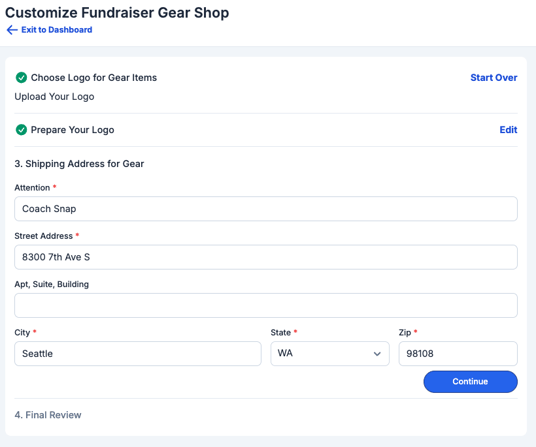
The next step in the flow is to confirm the shipping address of the gear.
Please ensure you are entering the best address to send the gear to. We suggest not using a PO box.
Step 4:
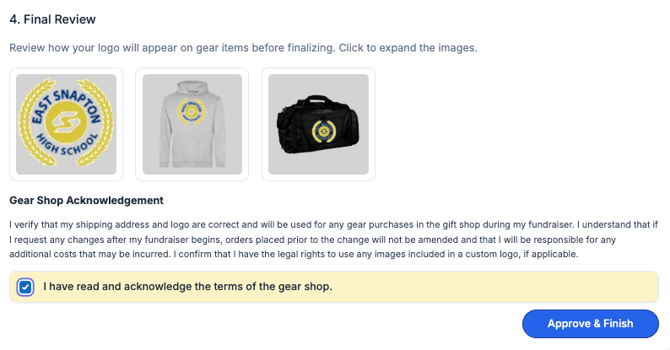
The final step is to review your Gear Shop details and confirm the Gear Acknowledgement. This acknowledgement confirms that you are responsible for the selected logo and the shipping address where your gear orders will be delivered.
‼️ Important note:
Important: Once your campaign is Active, the logo can no longer be changed. You will see this pop up on your dashboard:

How to Change your logo
If you would like to change your logo, you can always Start Over!
Once your campaign has gone active, oyu are not able to change the logo. Please note these changes can only be made if your campaign has not started.
STEPS:
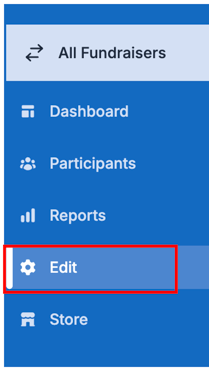
1. From the campaign dashboard, click Edit
2. Click Fundraiser Gear Shop
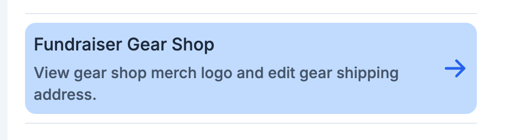
3. On the right hand side of the logo, click Edit
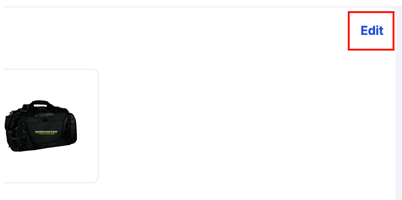
4. Click Start Over
This will allow the Group Leader to reselect or change their gear logo!
If you need to correct a mistake or request an update to your logo after your campaign is active, please contact our Support Team at support@snapraise.com.