
Sending Notifications In The FanX Portal
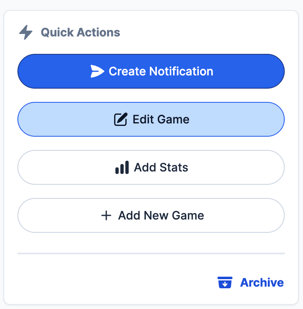
Whenever the Create Notification button is on a page, that signifies that a notification can be sent from that page. Depending on the source you send a notification from in the portal, it will deep-link users to that page upon opening the notification.
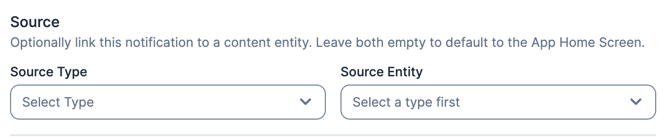
Example: If you do not choose a source sent a notification from the home screen of the portal, it will take users to the home screen of the app when they open it.
Creating Your Notification
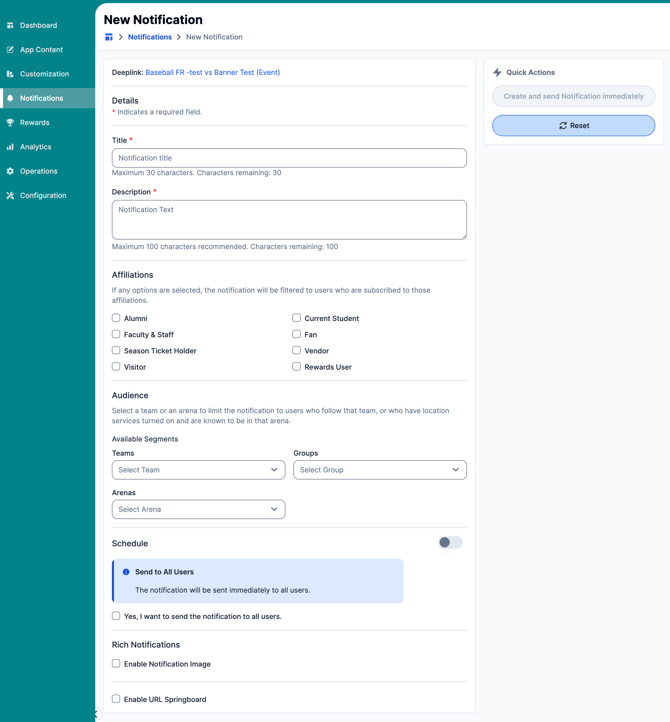
When you click into the paper airplane icon, you'll be sent to the notification template where you'll create, schedule and customize your notification. One of the most important pieces in sending your notification will be checking the Deeplink. This is where your users will be sent inside the app when they swipe open their notification. In this example we sent this notification from the Home Screen of the portal.
Scheduling Your Notification
Rich Notification Options: Images & URL's
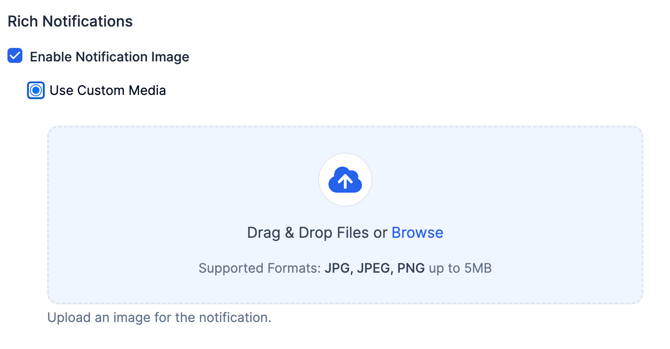
- Optional: Select if you'd like to include imagery by selecting Enable Notification Image under Rich Notification Options, and upload your photo in the box below.
- Optional: Send your users directly to a link by selecting the URL Springboard box and entering your URL below. Tip: This could be a link to a website tied to your promotion or a sponsor's website.
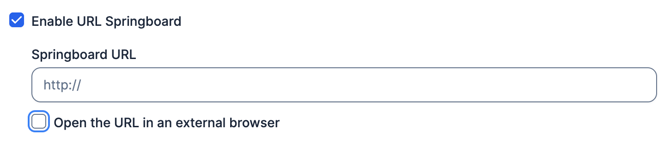
Selecting Your Notification Audience
You can curate your content and notifications in the portal to specific audiences in your school by using this Audience & Affiliations sections.
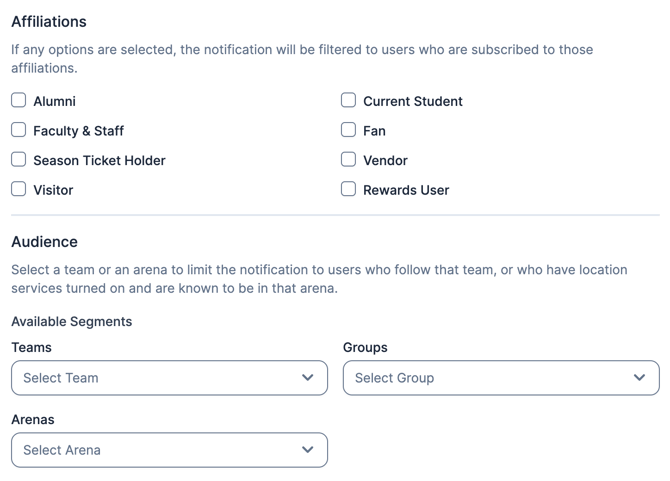
Under Affiliations, you can select the users to receive notification based on their affiliation to the program or school. Leaving all affiliation boxes unchecked will send the notification to all users regardless of affiliation
Under Teams, you can select a team's audience to send the notification to. In this example, since our notification is about the Mens Basketball, we can select Mens Basketball- this will send the notification to all users following the Men's Basketball team.
Under Arenas, you can send your notification to those only within the Geofence of your arena to receive the notification. Tip: This isn't typically recommended due to some users choosing the option to not allow their Location Settings to be tied to the app at all times.
Finalizing a Notification
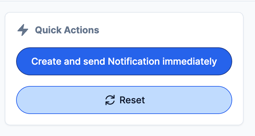
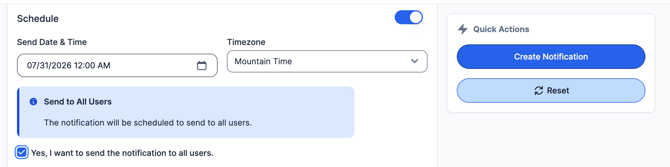
Before sending your notification, the portal will show you whether or not your notification is scheduled or whether it's being sent immediately and to what audience your notification is for.
Some examples and best practices of when to send notifications from team pages:
- Notifying users about active Merchandise links
- Team News or urgent updates for fans and users
- Highlighting Season Accolades
Examples of notifications sent from a game page:
- Game status updates (game start, cancellations, postponements, etc.)
- Game and score updates - If a game has gone final, to overtime, etc.
- Beginning of audio/video stream tied to your game
Sending Notifications For a Promotion
When running a promotion, whether it's an internal promotion within your school or a sponsor-based promotion, notifications are a great way to spark engagement. Notifications can be created in advance to hype up your event or promotion, or can be sent out as soon as your promotion is published inside the app. The setup process will be the same as other notifications.
Tip: This could be a link to a website tied to your promotion or a sponsor's website.
Viewing Your Scheduled/Sent Notifications
To view scheduled or sent notifications you can navigate to the Notifications tab on the left navigation bar.
Here you can see a preview of your notification, including:
- Scheduled: This section shows you the date and time your notification is set to send out.
- Notification Preview: Here you can see a preview of what your notification title and body text will look like.
- Audience: This will show you the specific audience and arena filters you have set for your notification.
- Deeplink: Upon opening the notification, users will be sent to this page inside the app.
- Owner: The creator of the notification.
Editing Or Deleting Your Notification
In the Notifications tab, if you've scheduled your notification, you can always edit or delete your notification before it is sent.
Sent Notifications
Previously sent notification results are only viewable for 30 days.
If you have additional questions please don't hesitate to reach out to us at fanx.support@snapraise.com.